
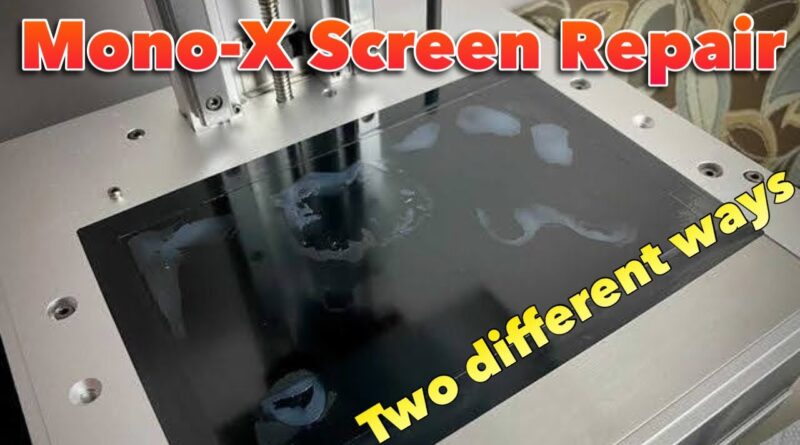
How to fix the screen on your Anycubic Photon Mono-X
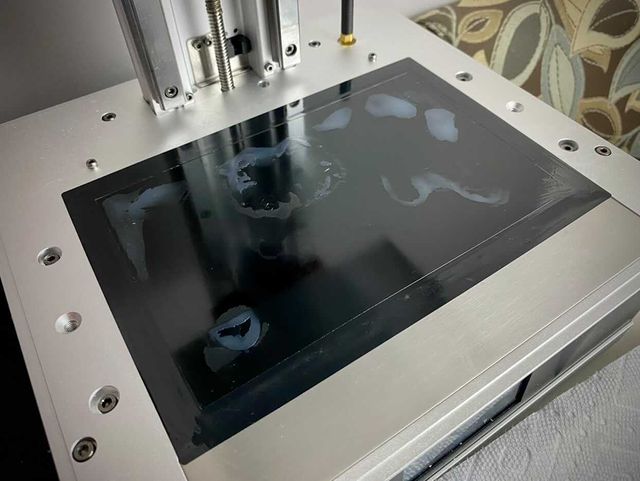
Too many people have already ruined the screen that comes with their Anycubic Photon Mono-X. Once you get resin cured on the screen there are two options.
What happens
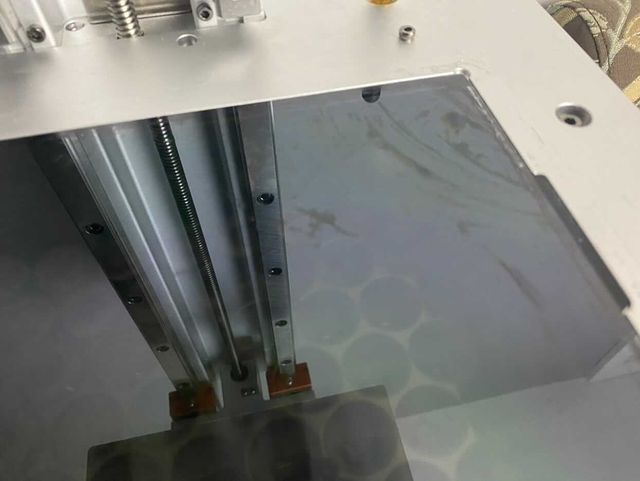
Most people seem to have a failure when prints stick to the FEP
The FEP ends up getting pulled up too far and it tears just a enough for resin to leak through. The resin is then spread all over the bottom of the FEP by the vacuum created during the printing of the next layers. Then the next layers cured cure the resin on the screen and not the resin in the vat. At that point you are pretty much out of luck.
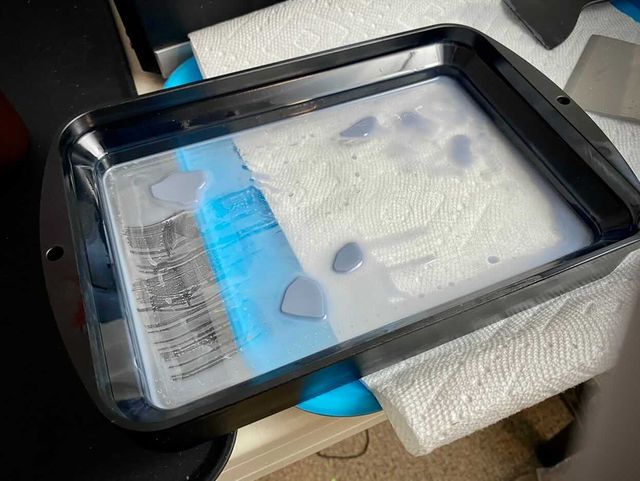
You can try and soak IPA in a rag and place it on the cured resin and depending on the resin you may be able to get it off without damage, but this doesn’t work for most people. You have to be very careful to make sure you don’t scratch the glass underneath the polarizing plastic (more on that in a minute)
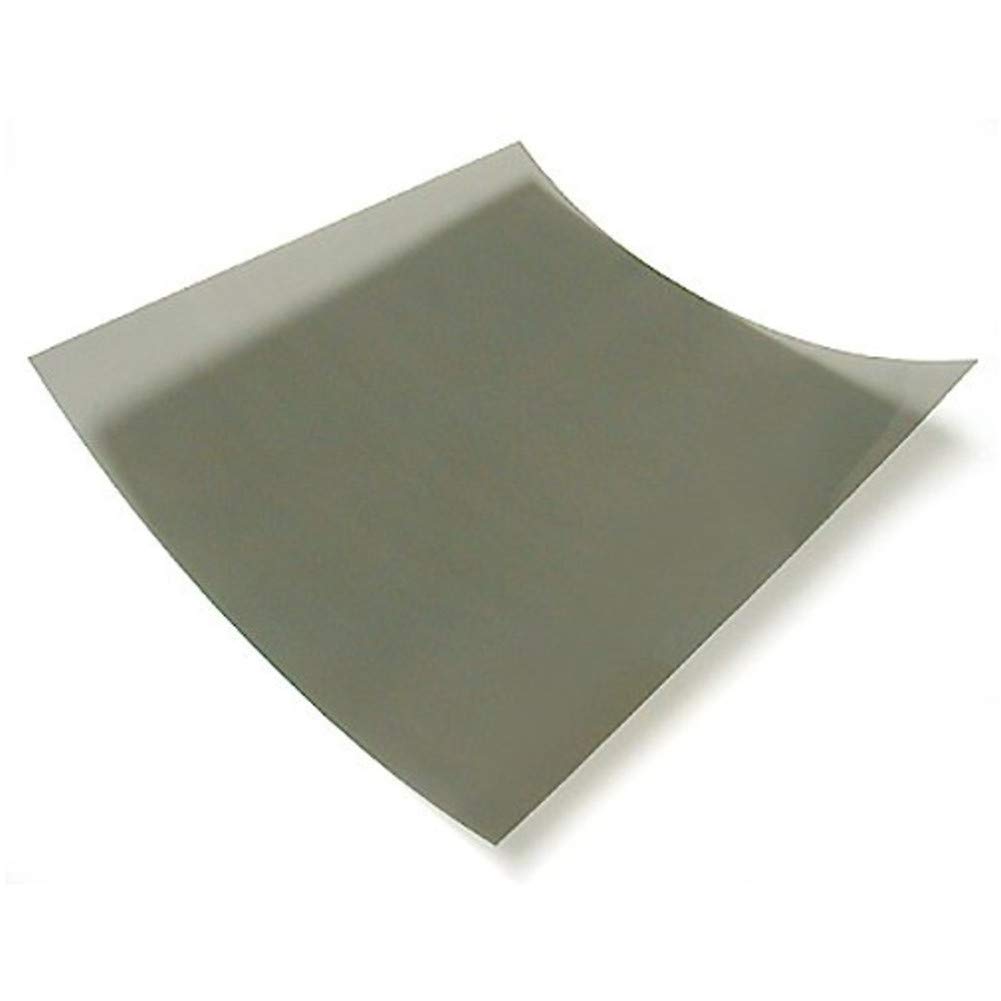
What you will probably find is a layer of plastic comes up with the resin. This is a layer of polarizing film on top of the screen. This film helps direct the light so it is focused is all directed straight up to the pixels you want to be cured. From here you have two options for what to do next.
Option 1: Replace the Polarizing Film
Replacement film is available kind of hard to get right now. But it has been confirmed that this film can work for some people. We know the Mono-X ships with two different screen and the polarizing film seems to be different on the two of them. These instructions work for one of them but not the other and at this time we don’t have a good way to know if it will work for a specific unit or not. This will be updated as more details are figured out.
The tricky part is that you can’t just cut and install it on the screen. It has to be tilted at about a 15 degree angle. This can be tricky, but I have tried to make it really easy for you. Here is a PDF you can download and print that will show you exactly how to cut your film so it will be the right size and angle.
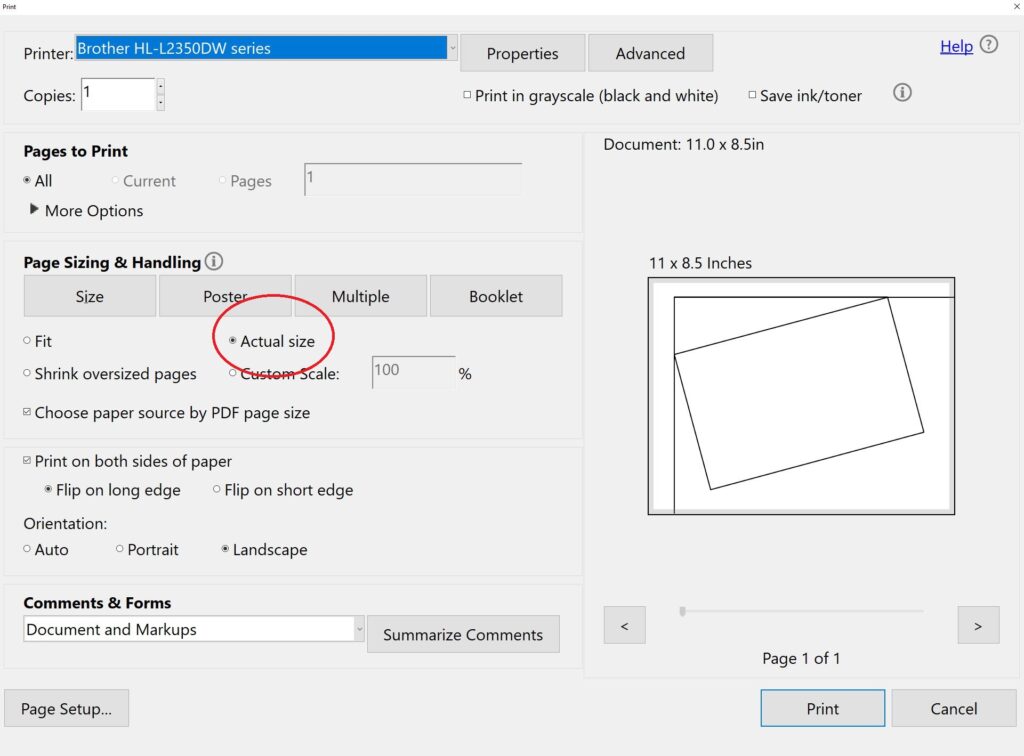
It should work on either Letter paper or A4 paper. Just make sure you have your print setting set to “Actual Size.”
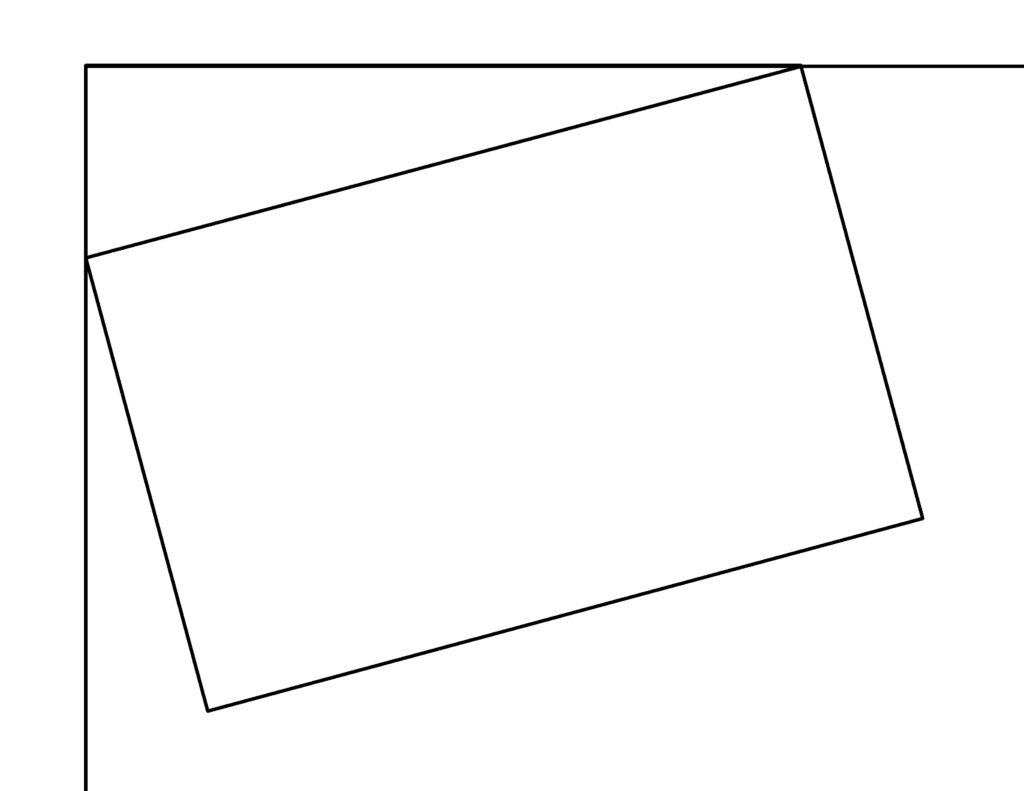
This is what the print out will look like after you print it. From here line up one of the corners of your film with the upper left hand corner and then trace the rectangle and cut it out. This will give you a square the right size to install on your screen (with the tape removed), and will be at the correct angle.
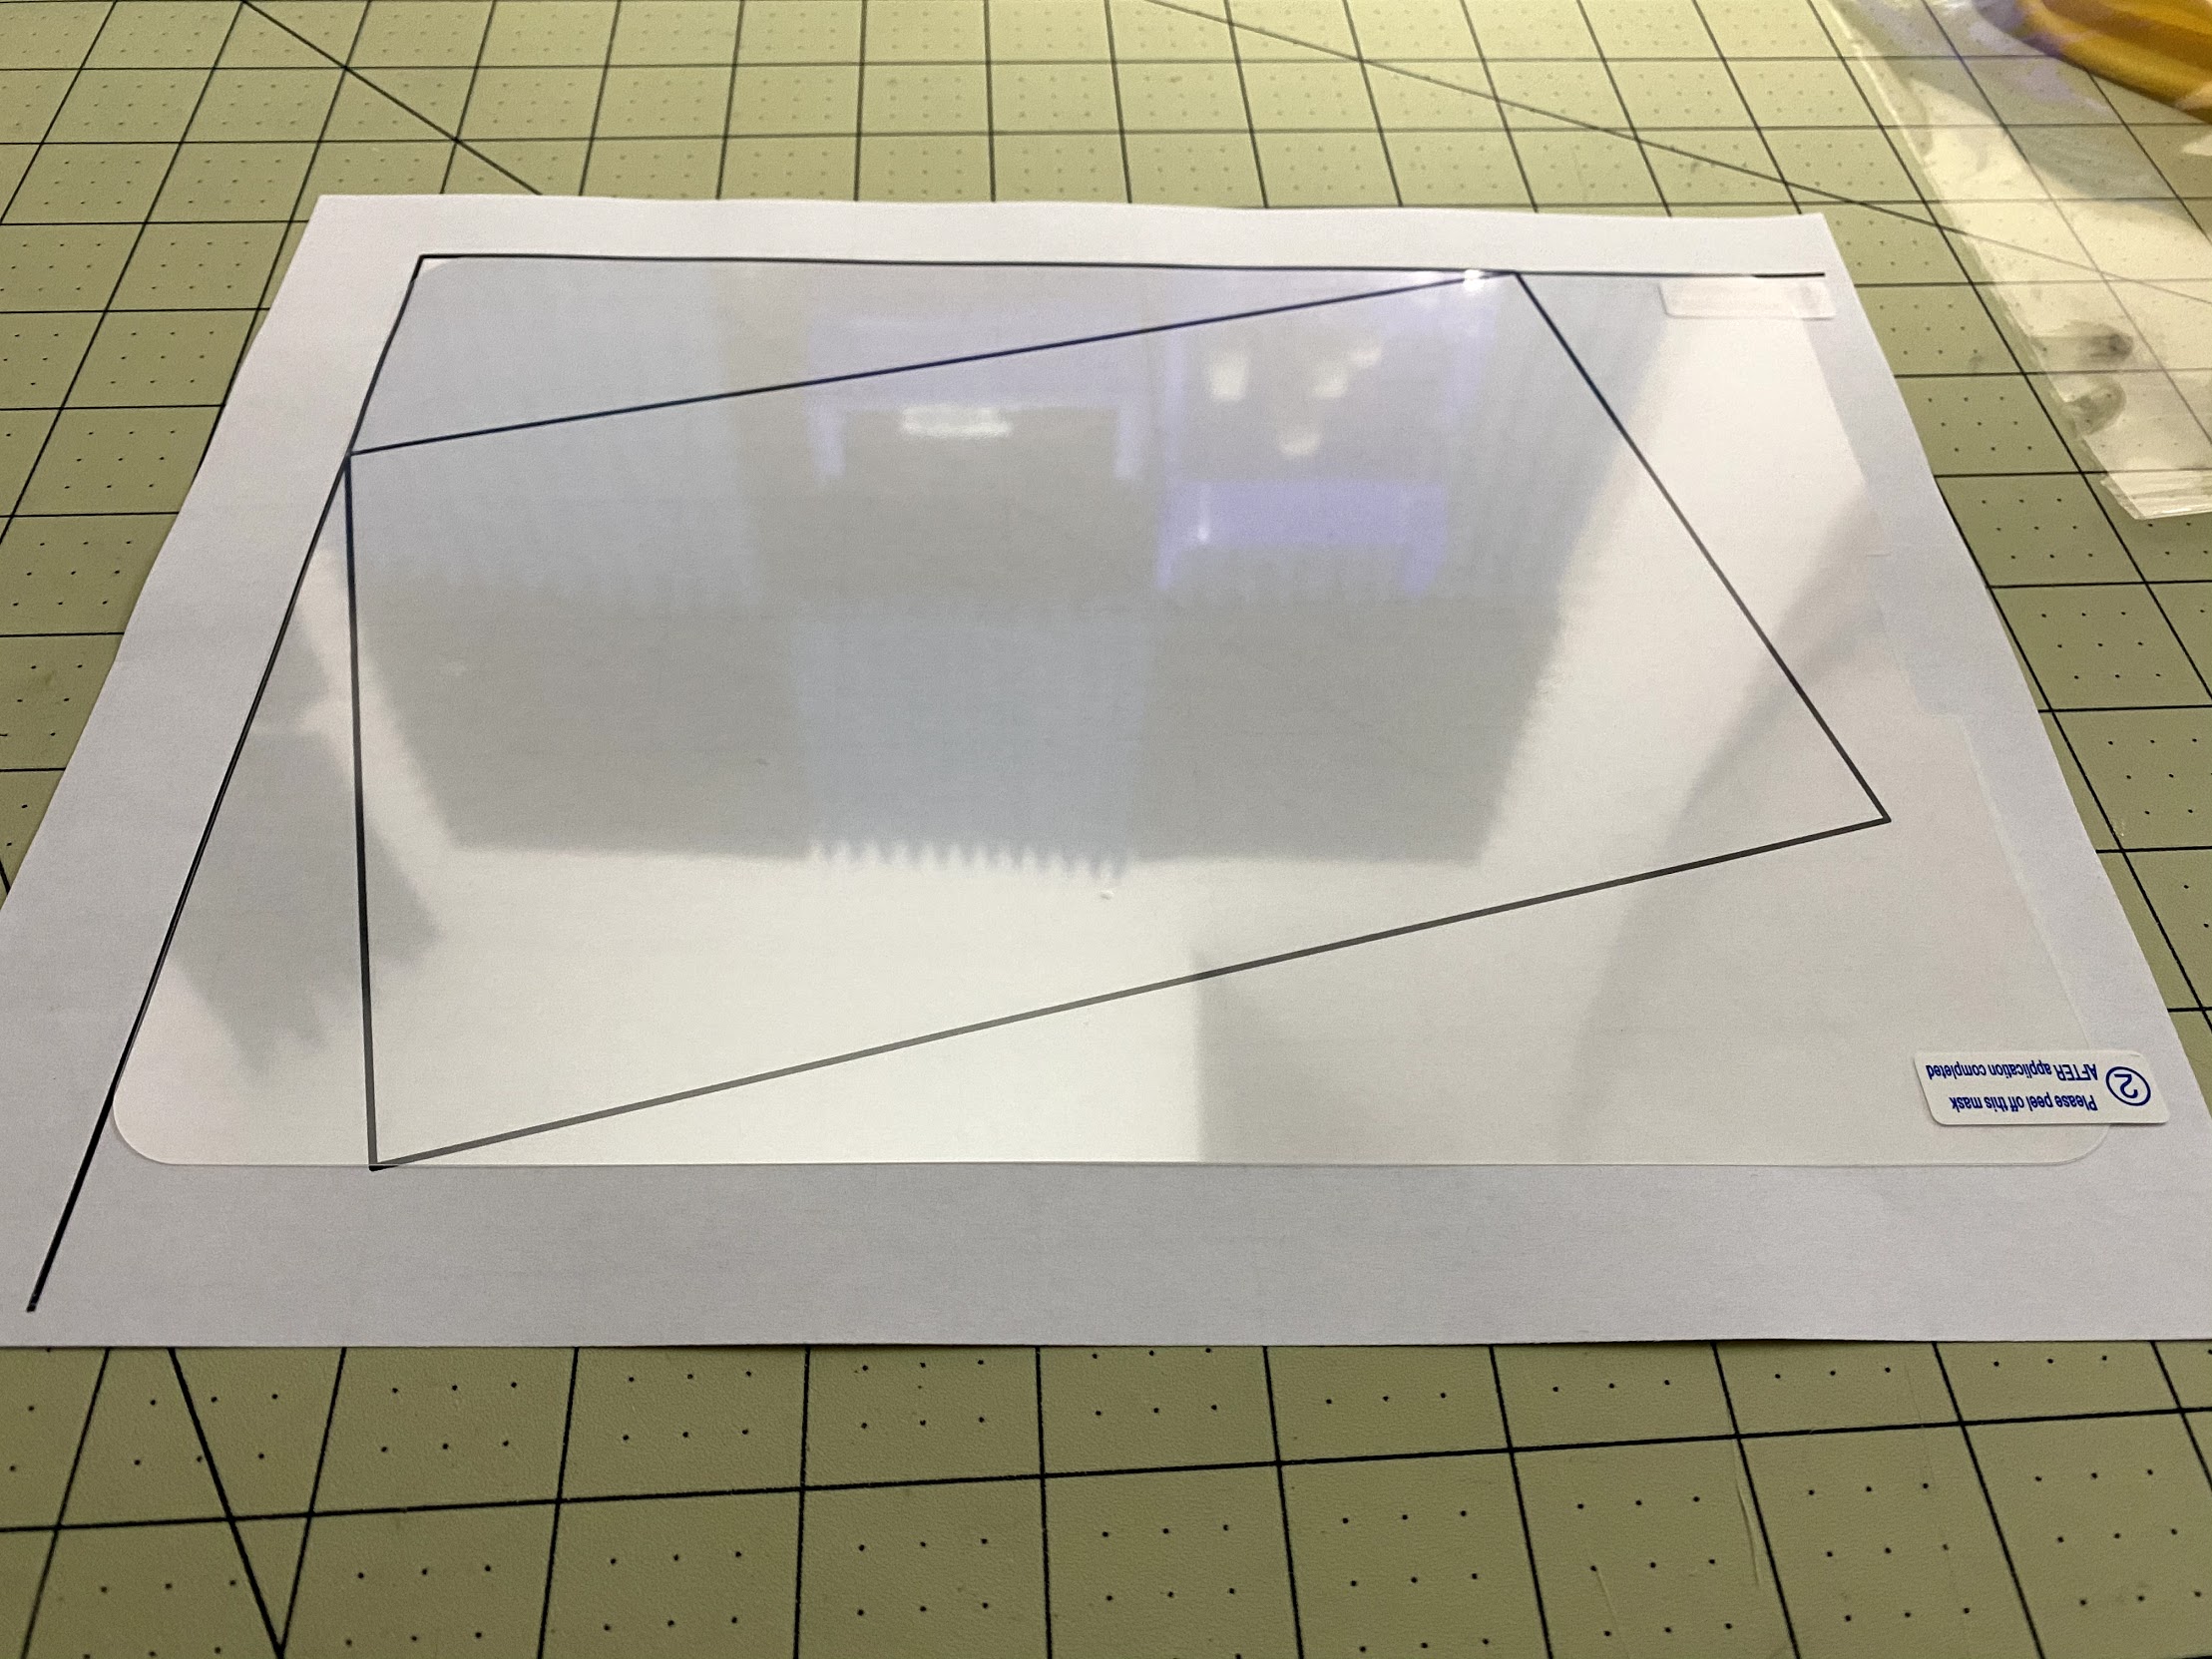
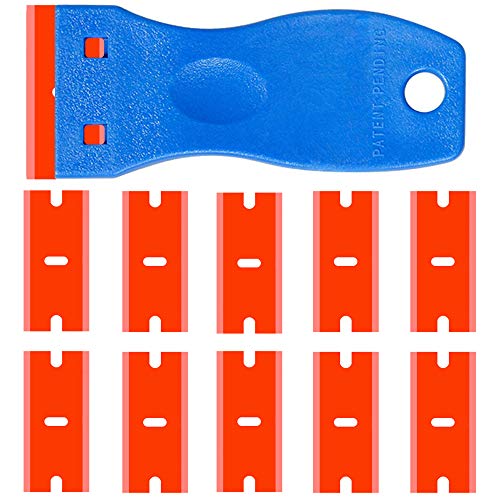
There are several ways you can cut it. It really don’t have to be extremely exact. I recommend taping the film to the paper then using a straight edge and a sharpie to outline the square where you need to cut. You can cut it with scissors, but I feel like you get a better cut with a Metal Straight Edge and X-Acto Knife.
Install the film just like a screen protector on a cell phone. Make sure the screen is SUPER SUPER clean. Use glass cleaner or IPA to clean it. It’s not uncommon for the screen to still have marks from the dried resin on it after removing the polarizing film. This has been successfully removed by multiple people using a Dremel tool with a wool buffing pad. Use lots of IPA and it should buff off. If you don’t have a Dremel tool here are some cheap cordless options: https://geni.us/CordlessRotaryTool
Then wipe it with a microfiber cloth. Peel up one of the narrow edges of the protective layer on the side with the adhesive. Don’t peel off the whole protective layer. Place the exposed adhesive film on the edge of the screen so it is properly lined up and use the edge of a credit card to slowly apply even pressure as you press the film onto the screen. Pull the protective layer off as you go so the adhesion stays clean and free from dirt to prevent spots and bubbles.
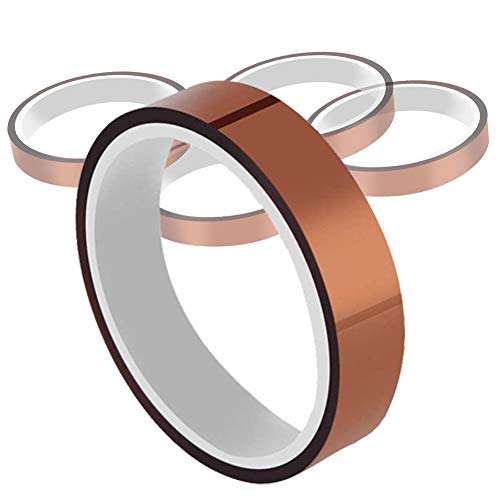
Now tape the screen back in place. I recommend using high quality Kapton Tape instead of the black tape originally used with the screen. It is much thinner and will help with the next step.
These steps were assuming your screen is still ok, but is just missing the polarizing film. But if your screen itself is damaged you will have to go bigger and replace the entire screen. The screen on the right appears to be damaged in the corner and replacing the film may or may not work.
Option 2: Replace the Whole Screen
Anycubic has already made a video that includes the physical process of replacing the screen. But it is sorely lacking a number of details. Mainly it doesn’t mention that there are actually TWO different screens you may have, or they fact Anycubic themselves don’t sell the screen.
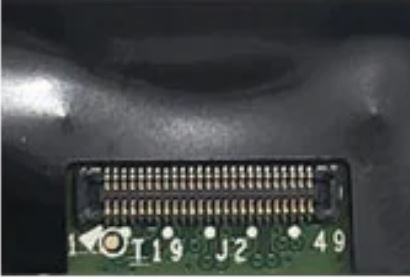
The first minute of the video is good. Follow their instruction until 0:58 you need to stop when they expose the connector. There are actually two different types of connectors used on the Anycubic Photon Mono-X.
Option 1: https://geni.us/MonoXReplacementScreen
This is a snap connector. This is what is shown in the video. This connector is about 3/4 of an inch wide. After removing the tape you will “pop” the cable off of the screen and this is the part you will see as the connector on the screen. When you get the new screen the cable will snap back on exactly like what is seen in the remainder of the video.

Option 2: https://geni.us/MonoXScreen2
This is a ZIF “Zero Insertion Force” connector. This connector is about 1.5 inches wide. To remove this connection you lift the black part on the connector. It is hinged. Then remove the flat ribbon connecting it. To replace it you will lay the cable end back in the slot then close the black cover and it will click into place just a little bit.
Now tape the screen back in place. I recommend using high quality Kapton Tape instead of the black tape originally used with the screen. It is much thinner and will help with the next step.
Before you print again!
You need to do two more things before you print again. First you need to protect your screen. If you used the Kapton Tape you can probably just install a single large protector over the whole thing like this one: https://geni.us/MonoXTopScreenShield If you want more details on protecting your screen check out this video:
The other thing you need to do is to replace the FEP in your Mono-X vat. Unless you are ABSOLUTELY sure that it wasn’t a leak that caused it. When you remove the FEP feel around the edge of the vat for any sharp metal edges. They could be what cause for FEP to fail. If you do find any file them smooth before you install the new FEP.
Anycubic also has a video for this, but they don’t have FEP available yet. There are two FEPs that I will recommend.
Mono-X Replacement FEP: https://geni.us/MonoXFEP (this may link to different thicknesses. Get the 0.15mil) This is the standard FEP for this printer. 0.10mil may work, but I would do whatever you can to get 0.15.
EPAX NFEP: https://geni.us/EPAX-NFEP This FEP Or (Non FEP) as they call it is supposed to be superior to the standard FEP we have been using. People who use it swear by it, I have some one the way for testing.
So hopefully this guide helps you get your Mono-X working properly again. It’s unfortunate that this has to be done at all, but at least at this point we have several ways it can be repaired. If this helped you fix your screen consider supporting the site by buying us a coffee so we can continue to bring information to those who can benefit. https://www.buymeacoffee.com/TrueEliteGeek
And remember, if you are going to be a Geek… Be an Elite Geek