
Everything You Need for 3D Printing with Resin – And More
If you want to get started printing in 3D with resin there are aren’t a lot of things you absolutely have to have. But there are also a lot of things that will greatly improve you quality if life. Even if you already print with an FDM printer there are a lot of different requirements that you don’t have right now. I’ve stared a list here to keep track and will add more details as I have time.
Must Haves
Number 1: A 3D Resin Printer 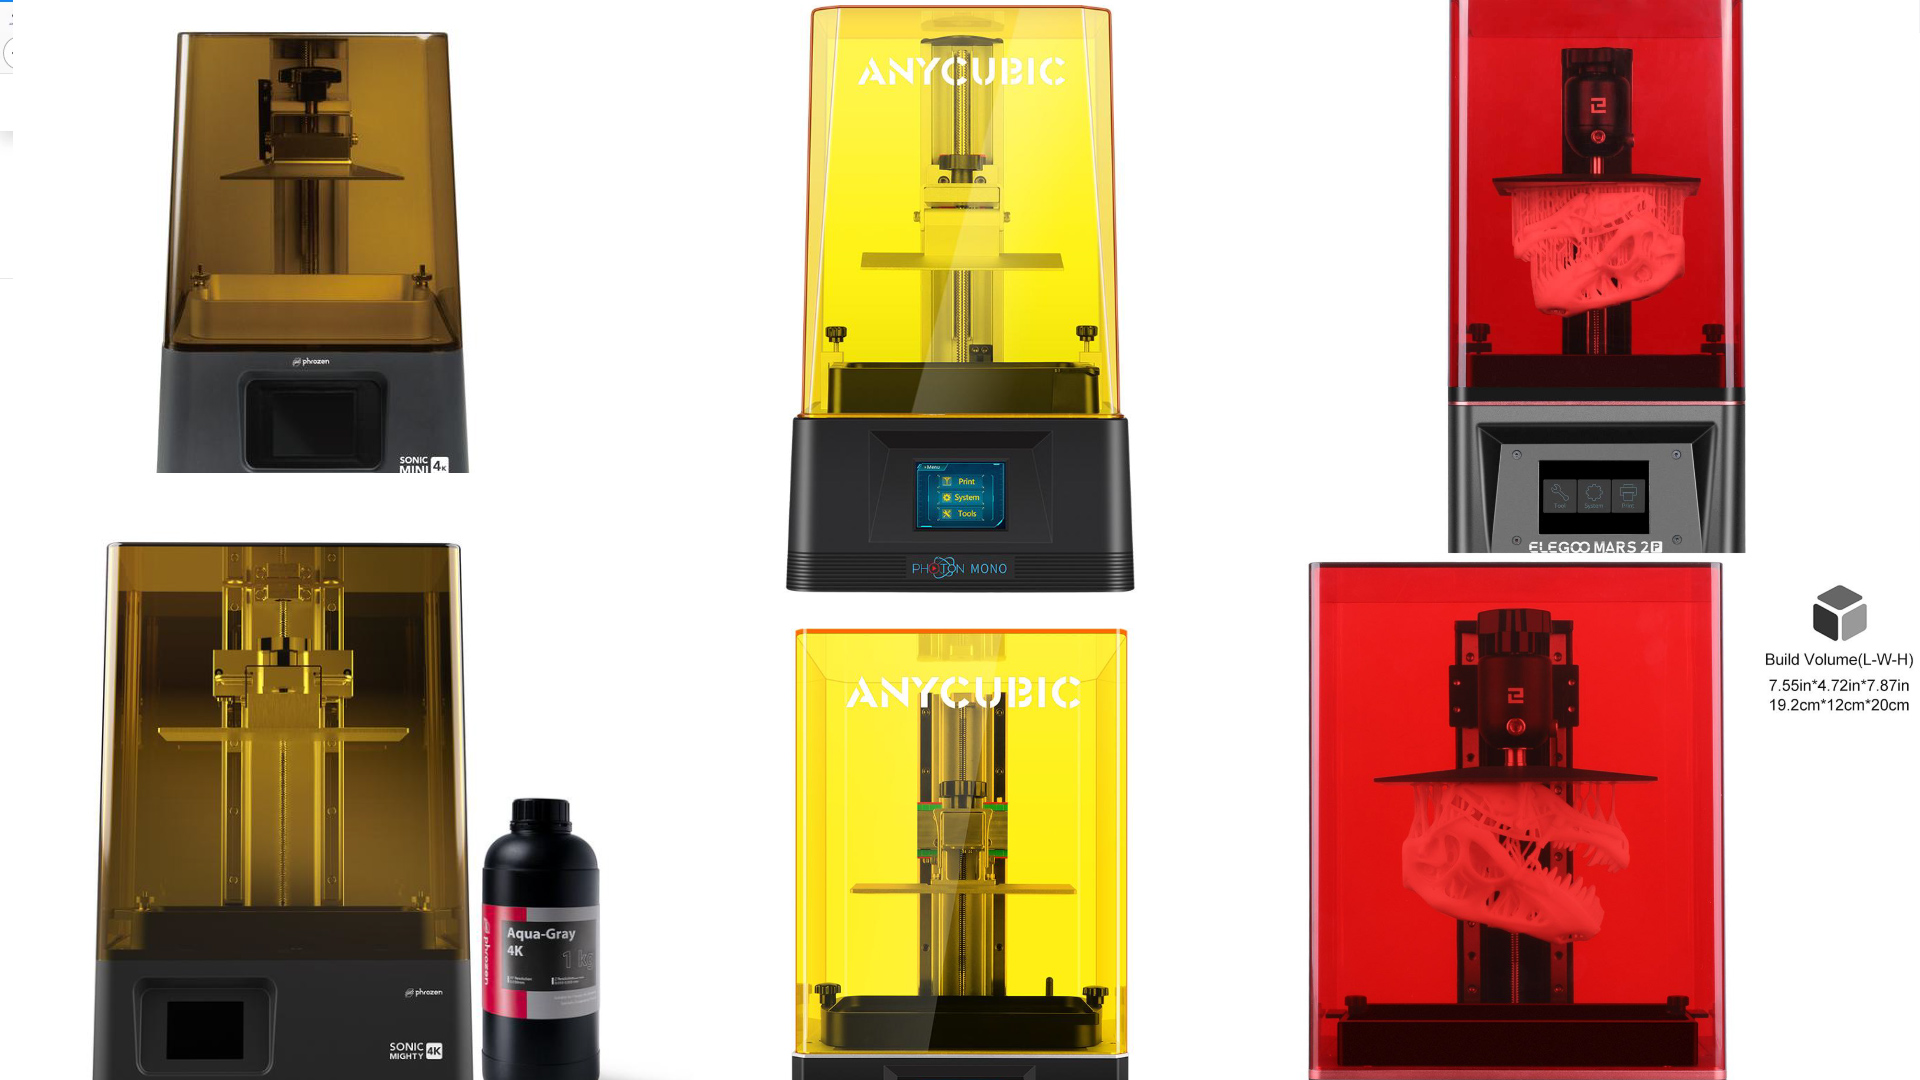
Deciding what Resin Printer to buy can be really hard. But I am going to try and narrow down all the options. You really want to invest in the latest generation of printers. The Mono printers are going to be well worth the little bit of extra investment in the long run. I have a dedicated page where I go over some of the best current models. You can find that here: https://www.elitegeek.net/3d-printer-selection-guide/ Personally so far I have used these models and am very happy with them. I am working on a ranking system so you can help decide.
6 Inch Mono Printers – These printers are what is considered the “standard” size for a Resin 3D Printer
- Anycubic Photon Mono: https://geni.us/AnycubicPhotonMono – Video Playlist: https://youtube.com/playlist?list=PL0Iu6IFrYqOJn2JBIqT4XIuUruEykOVSA
- Voxelab Proxima: https://geni.us/VoxelabProxima – Video Playlist: https://youtube.com/playlist?list=PL0Iu6IFrYqOI4_4GLtNEJvgOMDExpsgDJ
- Prozen Mini 4K: https://geni.us/PhrozenSonicMini4K – This is currently the highest resolution “hobby” printer. All the other printers are about 0.05mm pixel size. The Phrozen Mini 4K is 0.035mm which will show more detail on very detailed objects.
- Elegoo Mars Mono: https://geni.us/ElegooMarsMono
9 Inch Mono Printers – These printers are considered “medium/large” size Resin 3d Printers
- Anycubic Photon Mono-X: https://geni.us/AnycubicPhotonMonoX – Video Playlist: https://youtube.com/playlist?list=PL0Iu6IFrYqOKIC65au7GRrYTDQp-i75fM
- Prozen Mighty 4K: https://geni.us/PhrozenSonicMighty
- Elegoo Saturn: https://geni.us/ElegooSaturn
More details will be added as we continue testing the printers over the long term.
Number 2: Resin 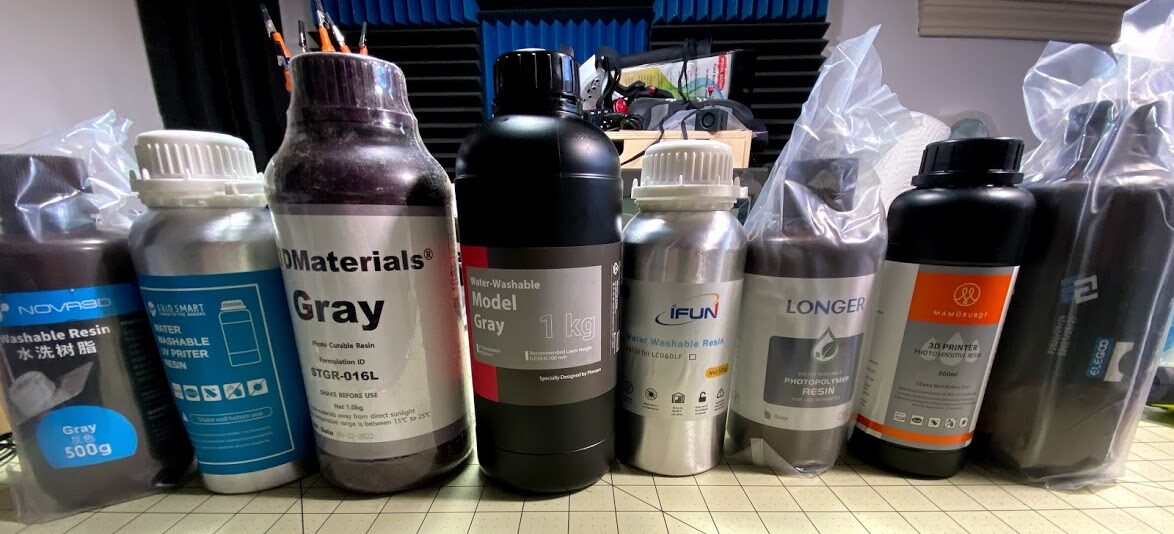
In order you print with your new Resin 3D Printer you are obviously going to need resin. In the last few years MANY new and specialized resins have become available. Here are some of the most popular types
- Standard Resin – This resin is considered the “default” resin that most people start with. It is now available in many colors and in opaque and transparent varieties. It is great for most standard purposes. It does require additional chemicals for cleanup. Most standard resins have a strong odor. – Example: https://geni.us/AnycubicStandardResin
- Eco Resin – Eco or Bio resin include oil from soybeans in their ingredient list. This does NOT make it safe to touch, but does lessen the smell. It does also still require additional chemicals for cleaning the parts. – Example: https://geni.us/eSUNBioResin
- Water Washable Resin – Water Washable Resin as the name implies can be washed with water instead of additional chemicals. Quality varies wildly and there are currently fewer color choices available. It does generally have far less odor than most other resin options. – Example: https://geni.us/PhrozenWaterWashable This is my preferred variety and I have a ranking of many of gray Water Washable Resin options you can find here: https://www.elitegeek.net/water-washable-resin-review/
- Flexible Resin: This resin comes off the printer with a rubber like consistency. You can make “squishy” parts with it. This is good if you have a need for very flexible parts with a higher quality finish than you can get with TPU and FDM printing. Sometimes people will mix this with their standard resin (5%-10%ish) to make it more forgiving – Example: https://geni.us/TenaciousFlexResin
- ABS Like Resin: I put this between the Flexible Resin and the Hard Resin for a reason. ABS Resin is both stronger and more flexible than standard resin. It is ideal for printing miniatures because those qualities make it less likely to break when dropped. – Example: https://geni.us/ElegooABSResin
- “Hard” Resin: Hard Resin is sometimes called 4K resin. It is supposed to have better dimensional accuracy leading to “sharper” models that look better. One note, this does not require a 4K screen and can be beneficial to any resin printing. But should probably be restricted to Mono printers because of the longer required exposure. – Example: https://geni.us/Phrozen4KResin
Number 3: A Chemical to Wash the Extra Resin Off
After your print is complete there is going to be additional resin remaining on the model. And if you have hollowed your model there will be resin inside it. All of this extra resin needs to be removed before it can be cured (that is the next step). Different chemicals have different properties and different advantages and disadvantages. Here are some of the most common chemicals used.
- Water – Plain old H2O. This will ONLY work on the Water Washable Resin. And it is VERY important to note that this does not mean rinsing off your print in the sink and rinsing it down the drain. Once the resin touches the water it should be considered a toxic substance and treated as such. This means washing it in a washing station because it is very difficult to wash it adequately by hand. More on that in a minute. If the water in your area is low in minerals you can use tap water for this but if not you should use distilled water from the store. You can also consider getting a machine to distill your water at home. https://geni.us/WaterDistiller
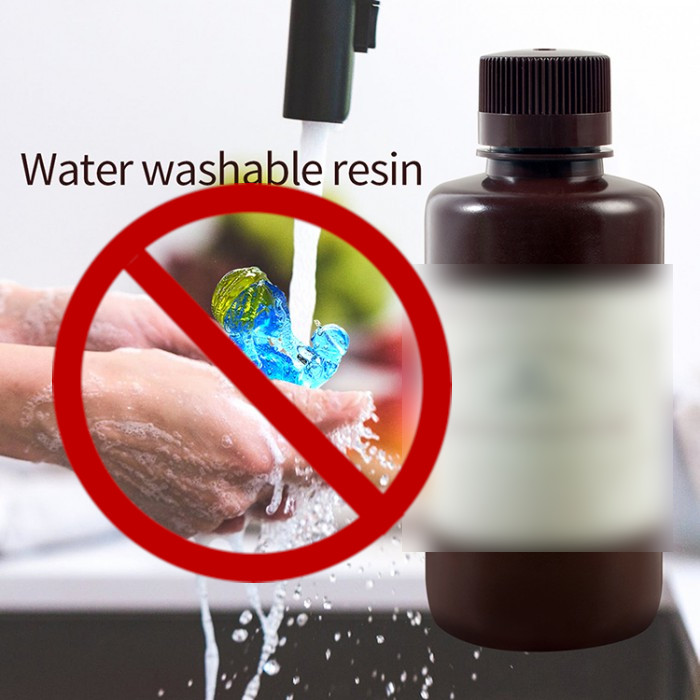
Don’t wash Water Washable Resin in the sink!
- IPA – Isopropyl Alcohol, also know as Rubbing Alcohol, has been one of the most traditional agents used for cleaning resin 3d prints. Until recently it was readily available and pretty inexpensive. It is best used at 90-99% alcohol concentrations. It may be available in your local hardware store or can be ordered online. https://geni.us/99PercentIPA
- Mean Green – https://geni.us/MeanGreen
- The next two are VERY strong chemicals, the advantage is they make cleanup very quick and don’t require any extra tools. But they have a much stronger odor and may not be appropriate to use indoors.
- Denatured Alcohol: https://geni.us/DenaturedAlcohol
- Acetone: https://geni.us/AcetoneCleaner
Number 4: How to wash the resin off
There are several ways to wash the resin off using the chemicals in step 3. What is best depends on what resin you use, which chemical you use to wash off the extra, how convenient you want it to be, and how much extra you want to spend for that convenience. None of these options are appropriate when using Denatured Alcohol or Acetone. They are too strong and not suitable for use in plastic containers.
- These first two are just cleaning it by hand. It works fine for small items but gets old and doesn’t clean as well if you are printing a lot.
- Bucket and Toothbrush
- Pickle Strainer: https://geni.us/PickleJar – Even though I mostly use water since I use water washable resin I keep a Pickle Strainer full of IPA for when I need to do a quick wash of something I want to dry faster so I can cure it sooner.
- Sovol SL2: https://geni.us/SovolSL3Wash
- Wash and Cure: Anycubic: https://geni.us/AnycubicWashAndCure Elegoo: https://geni.us/ElegooWashAndCure
- Ultrasonic Cleaner: https://geni.us/UltrasonicCleaner – Some people will put IPA in a gallon Ziplock bag and put there parts in that. Fill the ultrasonic with water and just put the bag in the water.
Number 5: How to cure the resin after it is dry
After your part is dry then you need to do a final cure on it. One note, make sure it is really really dry. Cracks and issues often come later when a part is cured before it is fully dry. All of these options provide the same result, just with different levels of convenience. The Wash and Cure options are nice because they can do both with less space. The other options are a matter of preference and budget.
- Budget Curing Lamp – Even though I have larger curing stations I still keep one of these around and use it a lot for curing removed supports and used paper towels and such: https://geni.us/UVCuringLight
- Sunlu Cure Box – https://geni.us/SunluCuringStation
- Sovol SL1 Cure – https://geni.us/SovolSL1Curing
- Wash and Cure: Anycubic: https://geni.us/AnycubicWashAndCure Elegoo: https://geni.us/ElegooWashAndCure
- Build Your Own: https://geni.us/UVLEDStrip
- Phrozen Luna: https://geni.us/PhrozenCureLuna
Number 6: Must have Extra Tools
These are things you really need for quality of life printing.
- Disposable Nitrile Gloves – An absolute must for resin printing. It’s very important that you never make contact with any resin before it has been final cured: https://geni.us/MedPrideNitrileGlove
- Long Nitrile Gloves – These longer gloves are not disposable but are very convenient for handling parts and buckets and when you need to stick your hand in the bottom of a Wash and Cure to pick up a part: https://geni.us/LongNitrileGloves
- Strainer Filter – When you need to empty the resin from your vat for whatever reason you should strain it to ensure no particles or pieces get into the bottle: https://geni.us/StrainerFilters
- UV Flashlight – These are very handy when you do a little extra cure on a part or to help clean up cured resin dribbles: https://geni.us/UVFlashlight
- Better Hex Wrenches – You are going to have to replace the FEP in your vat at some point and having good tools makes things much easier: https://geni.us/MetricHexDrivers
Number 7: Spare Parts and things to keep around
You should always have spare FEP or NFEP ready to install when needed. NFEP has been repeatedly been shown to be better. But is a little more expensive.
- FEP
- Standard FEP:
- 6 inch Printer: https://geni.us/6InchPrinterFEP
- 9 inch Printer: https://geni.us/9InchPrinterFEP
- NFEP: FEP vs NFEP: https://youtu.be/N8kNt-_4Tzk
- 6 inch Printer: https://geni.us/EPAX-NFEP-Small
- 9 inch Printer: https://geni.us/EPAX-NFEP-Large
- Standard FEP:
- PTFE Oil: https://geni.us/PTFELube See how to use it here: https://youtu.be/uJlyJAg3BBk
- Grease – For Lubricating your Z Rod: https://geni.us/PTFEGrease